
Using the best tools to monitor plaque at home improves cleaning accuracy and long-term results. Many people brush daily but never measure effectiveness. Monitoring tools provide feedback. Feedback guides correction. Correction improves outcomes.
Plaque monitoring does not require complex devices. Simple visual and tactile tools can reveal buildup patterns. When monitoring becomes routine, plaque control becomes predictable.
This guide explains the best tools to monitor plaque at home and how to use them correctly.
💡 You can also explore similar dental health supplements and oral care products on Amazon.
Check availability here →
Why Monitor Plaque at Home
Monitoring turns guessing into measuring. Without monitoring, habits repeat mistakes.
Monitoring provides:
Coverage feedback
Technique validation
Missed zone detection
Progress tracking
Feedback drives improvement.
Improvement builds habit.
Mirror Monitoring Tools for Plaque
A bright mirror remains the simplest plaque monitoring tool. Use angled lighting.
Check:
Gumline edges
Back molars
Inner surfaces
Light reveals dull film.
Film signals buildup.
Daily mirror checks help.
Tongue Test Monitoring Method
The tongue detects texture differences. Smooth teeth feel slick. Plaque feels fuzzy.
Run tongue slowly along edges.
Texture reveals biofilm.
Biofilm needs brushing.
Daily test works.
Floss Feedback Monitoring Tool
Floss gives residue feedback. Smell and color reveal plaque presence.
Strong odor suggests buildup.
Residue suggests missed cleaning.
Floss shows hidden zones.
Hidden zones matter.
Disclosure Tablets as Monitoring Tools
Disclosure tablets color plaque for visibility. They show exact missed areas.
Color improves awareness.
Awareness changes behavior.
Use twice weekly.
Track progress.
Photo Tracking Monitoring Method
Take weekly tooth photos under the same light. Compare gumline clarity.
Photos show trend.
Trend shows improvement.
Consistency reveals change.
Plaque Monitoring Tools for Children
Visual tools motivate children. Color tablets and mirrors help learning.
Learning builds skill.
Skill builds independence.
Supervise early.
When Monitoring Shows Repeated Plaque Zones
Repeated zones indicate technique gaps. Adjust angle and stroke size there.
Pattern reveals weakness.
Weakness needs correction.
Correction improves results.
Combine Monitoring Tools for Best Accuracy
Use more than one method:
Mirror + floss
Tongue + disclosure
Photo + mirror
Combination increases accuracy.
Accuracy improves control.
FAQ — Monitor Plaque at Home
Is monitoring really necessary?
Yes, it improves accuracy.
Are tablets safe to use?
Yes, as directed.
How often should I monitor?
Two times weekly detailed check.
Does floss reveal plaque?
Yes, often.
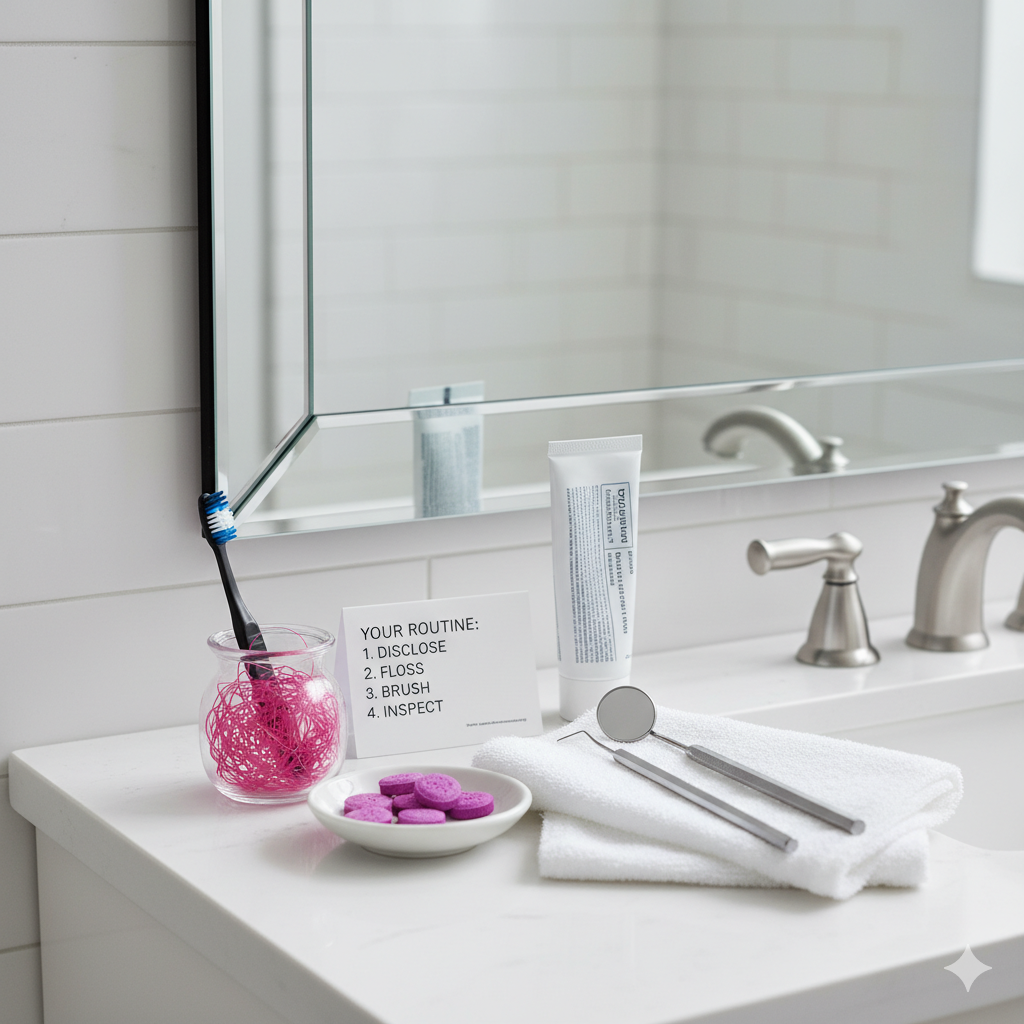
The Home Dental Inspection Routine
Essential Tools for Home Monitoring
- Concave Dental Mirror: Unlike a standard flat mirror, a concave dental mirror provides a magnified view of the hard-to-see areas behind your molars and along the gumline.
- Plaque-Disclosing Tablets: These contain a temporary dye (usually pink or purple) that sticks to plaque biofilm. After chewing and swishing a tablet, any colored areas remaining on your teeth indicate spots you missed during brushing.
- High-Intensity Light: Good lighting is critical for identifying early Stage 1 plaque, which can be nearly transparent without a disclosing agent.
Step-by-Step Inspection Routine
- Brush and Floss: Complete your standard Stage 0 cleaning routine.
- Disclose: Chew a disclosing tablet, swish for 30 seconds, and rinse with water.
- Inspect: Use your dental mirror to check the “hidden” zones: the backs of your molars, the tongue-side of your lower teeth, and the spaces between teeth.
- Targeted Cleaning: If pink spots appear, use floss or an interdental brush to remove the remaining plaque immediately before it can harden into Stage 2 tartar.